Thursday, August 21, 2014

Home Made Mitt Clips

I kindof stumbled onto my latest project:


Recently it was my Mother-out-laws birthday and I was stumped. I've bought the out-laws many gifts in the past that go unused so I find it difficult to pin down exactly what to get them.

I decided to cheat a little this year and look back at my mother-out-laws Christmas wish list and tried to see what she was still missing. She had: a sweater, work shirts, sun hat, mittens (cheap ones because she says she loses them all the time), logic puzzles and restaurant gift cards. She had gotten most of the things on her list at Christmas except the logic puzzles, so yay that's one thing down.

Budget, I strive to spend the same amount on everyone that's relatively close to me except my boyfriend, he's special ;) The logic puzzle book I found was roughly a quarter of my budget so I thought to myself what else can I do?

I thought of a solution to her losing mitts dilemma, MITT CLIPS!!! I feverishly searched the internet and found several mitt clips all ranging around the ten dollar mark plus shipping but they looked like they were designed for a 5 yo. She would not like that.

I thought I could just get the clips at Fabricland and elastic and fabric and make my own. Two clips came to 4.20$ each, I'd need 4 clips for one set, plus the elastic was going to be another 4$. 12$ for one set... I thought to myself "these clips are identical to the clips on my sheet retainers"
and went straight to Walmart. I picked up a set of sheet retainers which gave me enough clips to make two sets for 10$ and it includes the elastic. I figured I had material already and trekked home with my newfound supplies :)

My clips

The clips were a little long so I trimmed the length and cut off one of the clips:
Cutting off the one clips

Then cut in half

From there I cut two rectangles of like colour that would be big enough to wrap around the elastic plus the seam allowance (about quarter inch) and the length of the original elastic plus the same seam allowance. Using the original length gives me some fabric to make it look gathered and so my fabric doesn't limit the stretch of the elastic. 

Measuring the rectangle
From here I cut the rectangle and sewed under the short ends:
Then with wrong sides together I sewed the long ends together:
Then flipped it right side out:
I then slipped the tube onto the elastic and sewed the other clip back on. I also tacked down the ends to the elastic so they didn't slip around:

Repeat the above to make a pair. I made a pair with some plaid I had leftover from my sweater project :) 


VOILA! A complete set of two mitt clips :D 


Wednesday, August 6, 2014

Sweater Repair

I have this super adorable little three quarter length sleeve peach sweater that I've had for ages!

This photo doesn't really do it justice :( 

But sadly a few months ago I noticed a small tear at the back near the top!!


I've been thinking for some time about this, always about to toss it but never wanting to let it go :( Then the other day my boyfriend outgrew an item of clothing and I knew it immediately! It was the one! It was my repair tool!!!

Isn't it the perfect colour? 

So here was my plan, cut out three hearts, zig zag stitch the edges and cover the hole with one then sew the other two onto the elbows. Now this would make the sweater a little less formal but at least I can keep and wear it without having a hole in the back!!

I tried to draw a heart. Then I tried again.... then I decided I couldn't draw symmetrically and picked the half of the heart I liked most and decided to fold it in half and cut the pattern:

From there I cut three hearts out of the fabric and pinned them onto my sweater. I found thread to match the burgundy colour in the plaid and zig zagged my way around each heart. Now the one near the collar turned out significantly better than the others because gosh it's hard to sew on a sleeve! Here's the finished product:


I'm still debating on whether or not I'll take the ones on the sleeves off, open the sleeves, re-sew, then sew the sleeves up again. The worse looking heart is somewhat hidden on the left sleeve right now....


Friday, August 1, 2014

How I cook Roast Beef in the Slow Cooker

I don't generally follow a recipe I just toss stuff in the pot and cook till it's done... when I lived closer to work I'd leave it on low for the am, go home at lunch and crank it up to high then eat straight after work, mmmmmm!

Slow Cooker Roast Beef
2 lb Roast
Garlic
Salt
Pepper
a few medium sized potatoes peeled and chopped to bite size
Beef broth
Whatever veg you have on hand

Throw it all in the slow cooker in the am, set the timer (outlet timer or if you have one on your slow cooker) to about 5 hours before you plan on eating/getting home.

Gravy?

Remove meat & veg & potatoes

Pour juices into the largest diameter pot you have and bring to boil

While waiting for it to boil mix 1 teaspoon cornstarch in a jar and fill with cold water.

Close jar and shake the shit out of it

Once the juices have boiled slowly pour the cornstarch water in while mixing

Mix for a bit while it's heating until it thickens

If after 5 mins it's not thick repeat the cornstarch. Actually make that 3 minutes.

Meal Planning 2

I've prepared a second week of meals for my menu plan! My next challenge might be seeing if I can program a gadget on here that let's you build your own weekly meal plan and have it produce a menu? That might be beyond my technological capabilities but we shall see, perhaps I'll investigate next week!

So without furthur ado, week 2:

Monday: Honey Mustard Chicken

Tuesday: Lettuce Wrapped Hamburgers (This one is pretty self explanatory but I'll post my recipe shortly)

Wednesday: Trout & Pan Fried Veg

Thursday: Crustless Quiche

Friday: Chickpea, Tuna, Tomato, Feta salad, yeah I add Tuna


Groceries

Monday:
Plain Mustard
Dijon
Honey
Olive Oil
Onion
Garlic
Chicken
Salt & pepper
Rosemary (fresh)
Tuesday:
Ground Beef
Egg
Spices
Vegetables (onion, peppers, mushrooms)
Wednesday:
Trout
Salt & pepper
maple syrup
Soya sauce
butter
lime juice & zest
chives
Thursday:
Eggs
Real Bacon
Broccoli
Cheese (mmmm)
Spinach
Carrot
Friday:
Chickpea
Feta
Cherry Tomatoes
Tuna
Lemon Juice
Olive Oil
Oregano
Salt & pepper

Tuesday, July 22, 2014

Meal Planning 1

At my work there are a lot of young male engineers who's diet mainly consists of whatever can be removed from the freezer and cooked in a toaster oven or microwave. Heck, in university a healthy meal for me was sitting down to some tostitos, salsa and sour cream (veggies, protein and starch!)!! But after school I started learning how to cook. Initially I dabbled with bottles of butter chicken sauce and just added chicken and veggies and rice but progressively I tried new recipes.

One day a colleague and I were talking and he said he'd love it if someone sat down and told him what to cook every night and what to buy at the grocery store. This got me to thinking about my own erratic meal planning whatever I was doing. So I started making meal plans for my week to guarantee healthy eating and push some prep to the weekend when I had more time. I did this for about a month when the same colleague told me he was still eating at McDonald's. He's pretty fit, he does cross fit thrice per week but wasn't getting all that much fitter! As well, we all know you can't outrun your fork.

I started to electronify my meal plans and put them on google docs so he could use the same meal plans I did and hopefully stop eating at McDonalds *puke*. Not that I'm full on against McDs, they have great coffee and it's hard to make an egg mcmuffin all that bad for you. But not every meal of every day....

So here are the five meals and below that is your materials required, or what some might call a grocery list:

Monday: Salmon & Asparagus foil wrap BBQ/Oven

Tuesday: Cauliflower sauce & brown rice pasta

Wednesday: Meatloaf

Thursday: Paleo Spaghetti, can replace tomato sauce w/ pesto when on sale

Friday: Slow cooker roast beef (I'll post the recipe for this shortly)


Groceries
Monday:
Salmon
Dijon
Honey
Horseradish
Asparagus
Olive Oil
Tuesday:
Cauliflower
Brown Rice Pasta
Garlic Cloves
Vegetable Broth
Butter
Milk
Wednesday:
Ground Beef
Potato
Carrot
Cheese
Ketchup
Egg
Spices
Thursday:
Spaghetti Squash
Salt & Pepper
Olive Oil
Spaghetti Sauce or Pesto
Ground Beef
Vegetables for sauce like mushrooms, bell peppers, onions
Friday:
Roasting Beef
Potato
Veggies
Beef Broth
Cornstarch
Garlic Cloves
Salt & Pepper
Ice Cream (kidding.)

Friday, July 11, 2014

18 Weeks of Crop Share - Week 3

Hey everybody!

So rather than just sharing what we got in our food box each week I've decided instead to share what we did with some of the items in our food box :)

The first and least complicated was lunch on Tuesday:
We had a somewhat traditional European meal of smoked havarti, spicy cherico and spelt bread (and some butter for the bread). The bread was from our food box but it was all delicious!!

Next I whipped up a Strawberry Mint Salad:

Check out the hyperlink above for ingredients and directions!

The next one was made by Alexandre, he put together a Kale soup of sorts. I'll do my best to describe each picture but to be honest my largest participation in this was chopping ingredients as they came and consuming the end product :D 


Fry the garlic and either oil or butter!

Add the onions to fry!

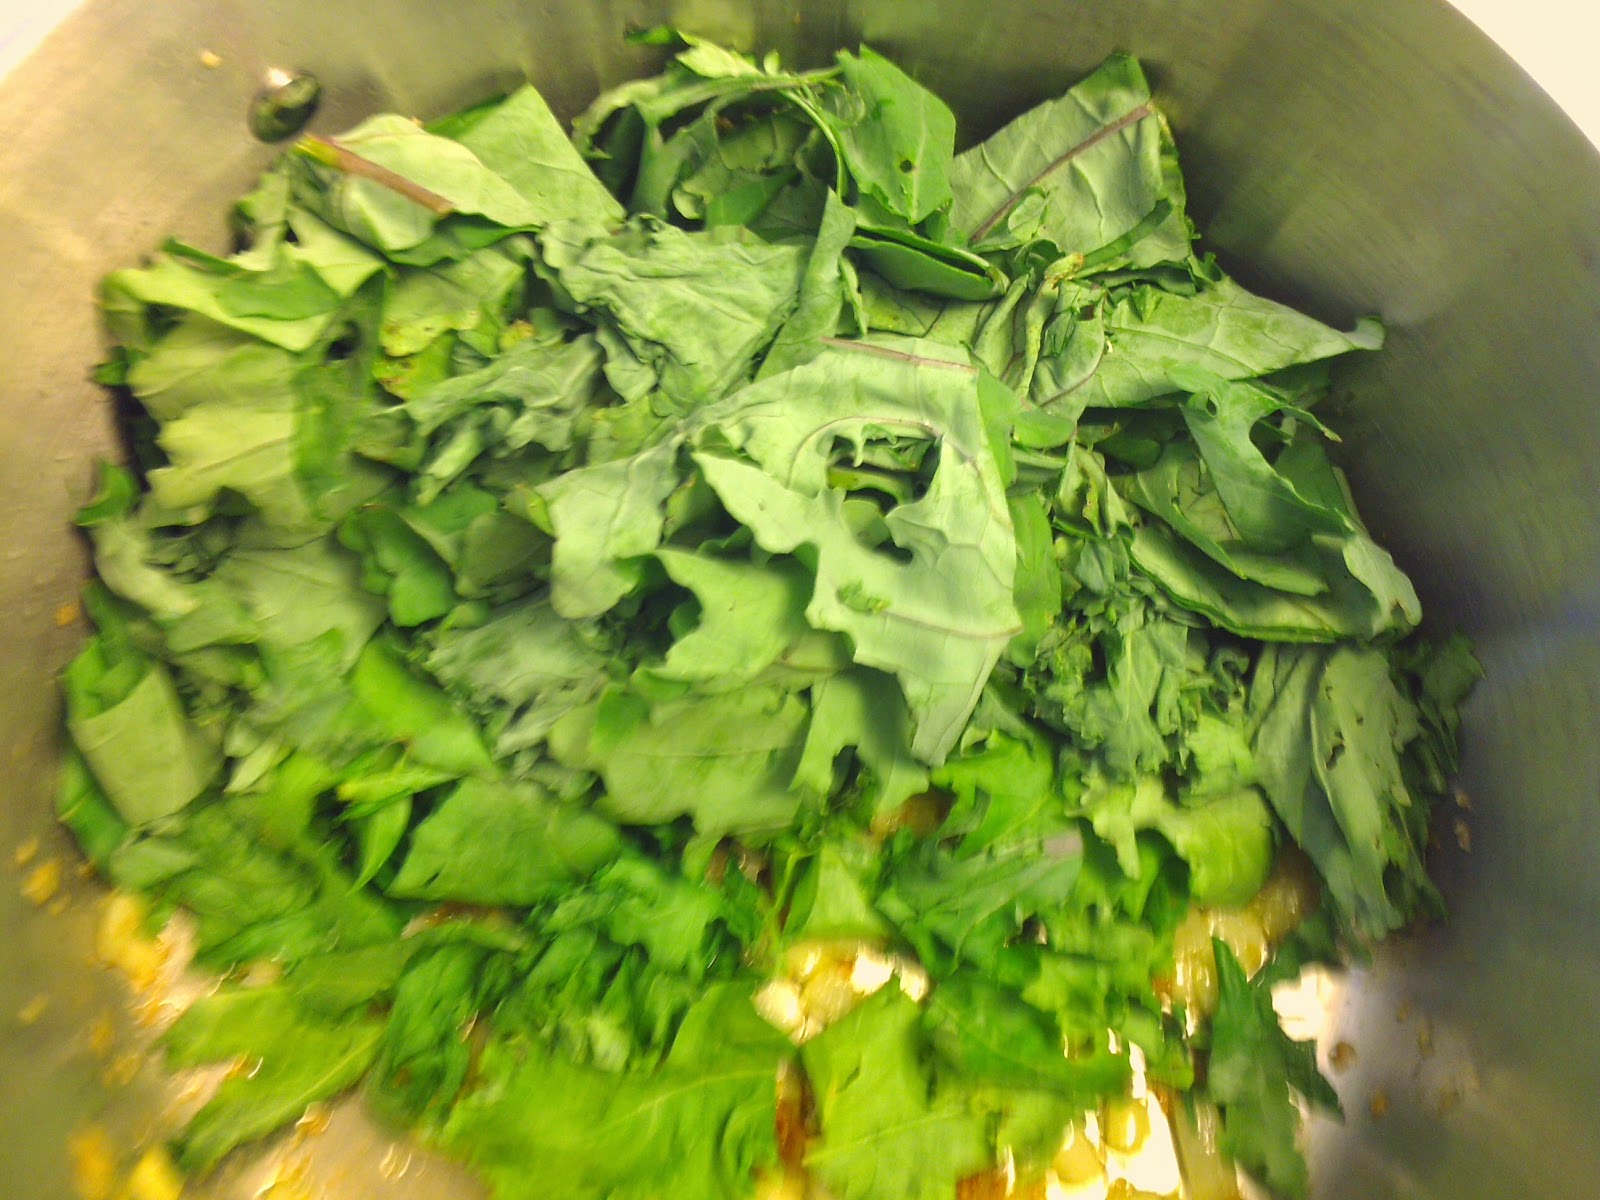
Cut the stem out of the kale and chop it up, toss it in the pot with the garlic, onion and butter.

Chop the tomatoes, garlic scales and green onion, while the kale cooks

Add the broth to the pot!
Add the tomatoes, garlic scapes and onion to the pot :) 

Not sure what was put in the blender... more to follow on this one! I'm certain there were white navy beans in there and some other kind of white beans... and their juices from the cans, maybe that's it? 

Pour the contents of the blender into the pot, mmmm needed a bigger pot since he doubled the recipe!

Last step: ENJOY! I think this is the recipe he used :) 

How do you try new things and incorporate them into your meals? What's your favourite recent new find? 


Tuesday, July 8, 2014

KitKat I Am Unimpressed.

A few days ago my Samsung Galaxy SIII Android phone informed it was going to update to 4.4.2, YAY! normally. But this time not so much... I'm not going to go through every change I noticed because I didn't honestly see many, just a few glaring ones:

1. The GPS icon in my pull down menu has been replaced with a "location" marker. This seems to be tied to my GPS which means that I can have both on or both off... my weather app seems to lag but eventually catch up and figure out where I am.

2. The battery gets murdered after turning on my camera. I did some digging and it looks like there's a bug generated when the camera is turned on. I did an experiment where I turned on the camera then shut down the program by holding the home button and swiping it away, the battery still died fast. So next I'm going to try rebooting after I use the camera.

Have you recently updated to 4.4.2? How are you liking it?